How to set up an initial design?
By default, if your customers open the product designer for one of your products, they will see an empty canvas: 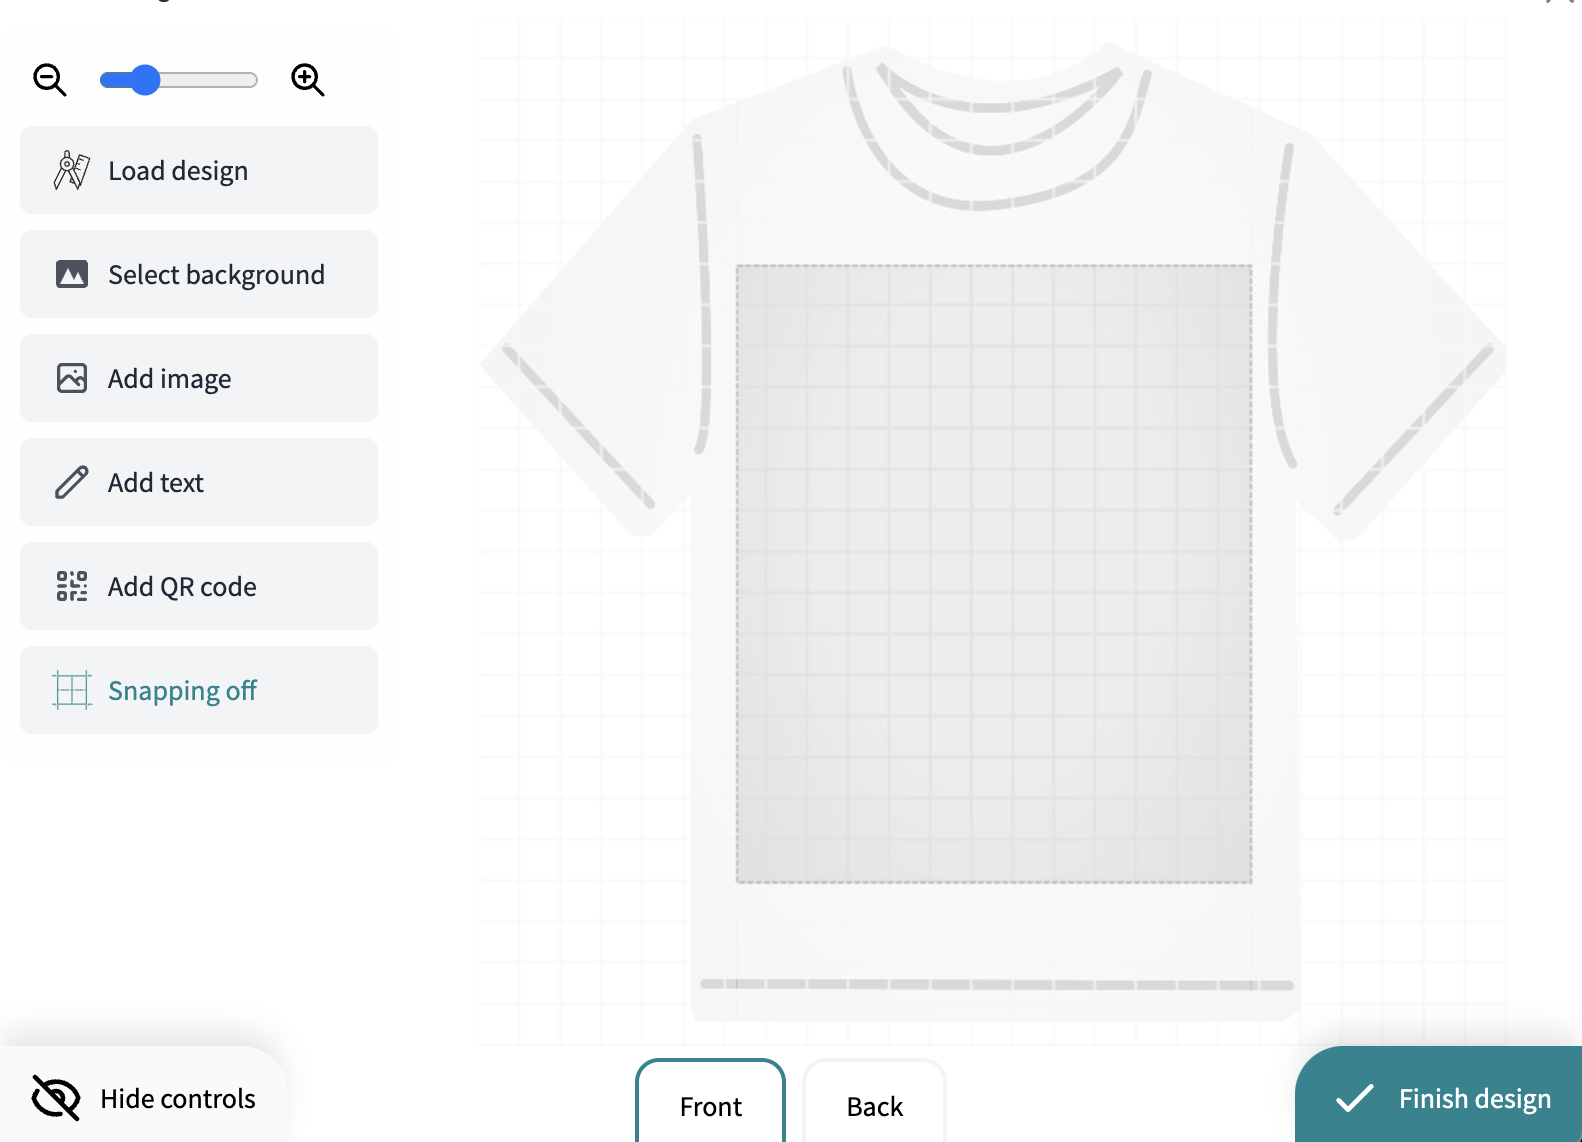
If you like to set up some objects that will be initially placed on the canvas you have to set up an initial design.
Finish your configuration
Setting up an initial design should be one of the last steps of your configuration.
⚠️ Before you start creating your initial design make sure you configured the correct canvas width, canvas height, article image etc.
⚠️ Also, make sure your configuration has at least one article number assigned of an article which is available in your web shop’s Frontend.
Make sure the designer is working and everything is configured the way you want: Open the configuration’s article in your web shop, open the designer and double-check.
Add objects
Once you have loaded the designer for your article, place and modify all the objects you like to have set up for your initial design: 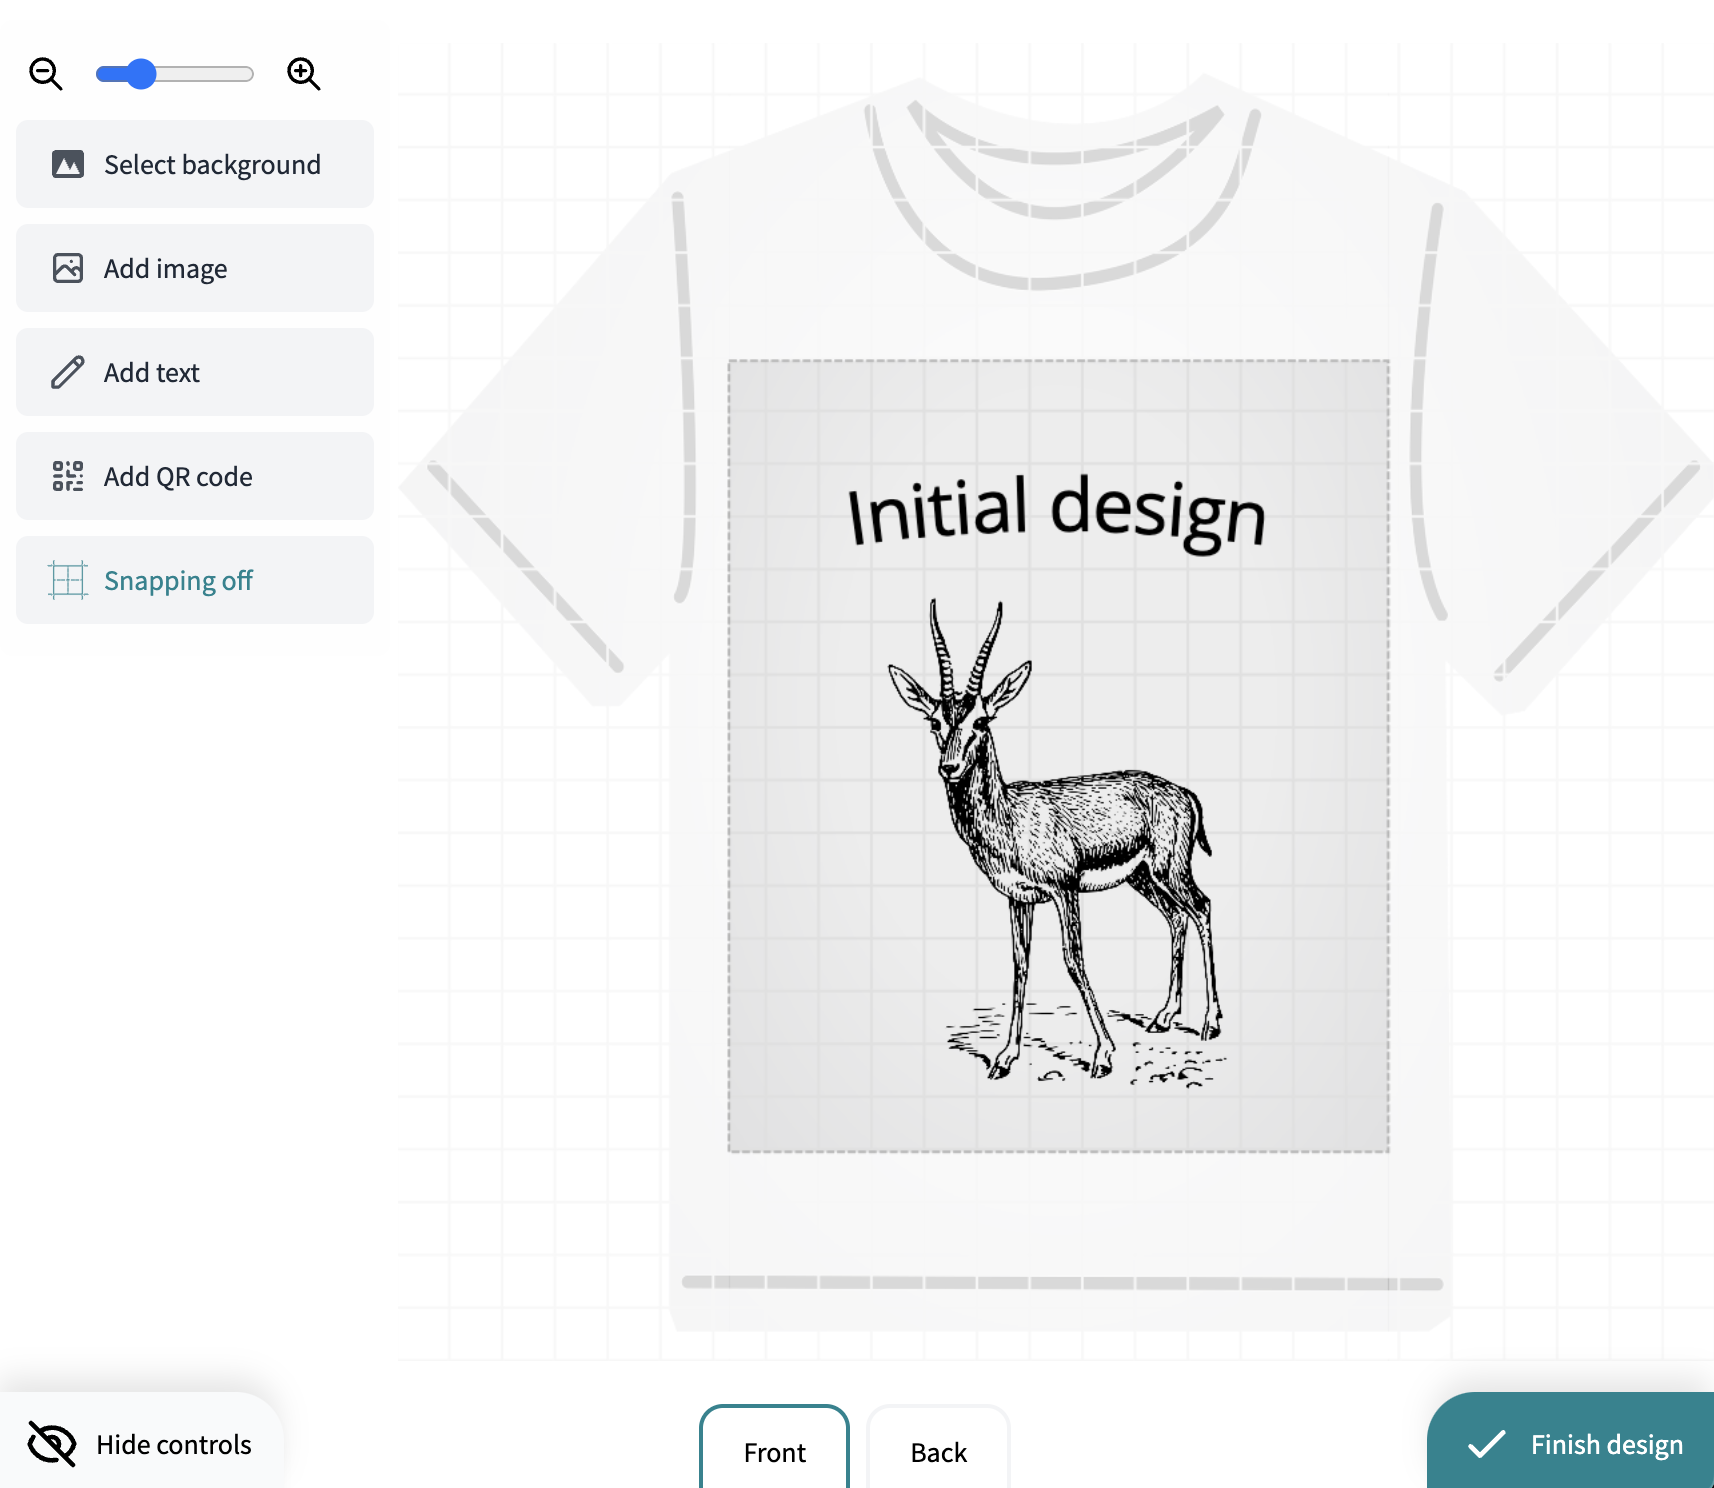
Retrieve JSON code
The product designer internally saves each design and all the objects placed in it - including their positions and properties - using a format named JSON. You don’t necessarily need to know about this format in detail to work with the product designer. Still, it’s worth to get a rough idea about it in case you never heard about it before: https://en.wikipedia.org/wiki/JSON
For the next step you need to make sure the frame the designer has been loaded into is in focus of your web browser. To do so, just click anywhere within the product designer modal. For instance you could click on the zoom button: 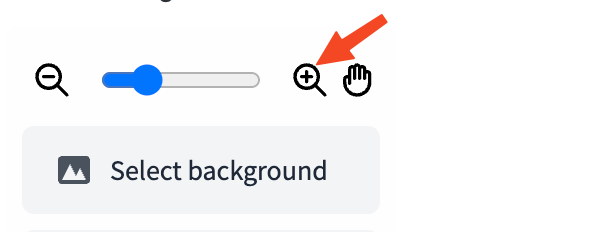
Right after, press the following key combination on your keyboard:
Windows: CTRL + ALT + J
MacOS: control + option + J
⚠️ If you can’t find any CTRL key on your keyboard it may have the label STRG instead.
Once you pressed the key combination the bottom right button to finish the design will be replaced by a button to view the JSON: 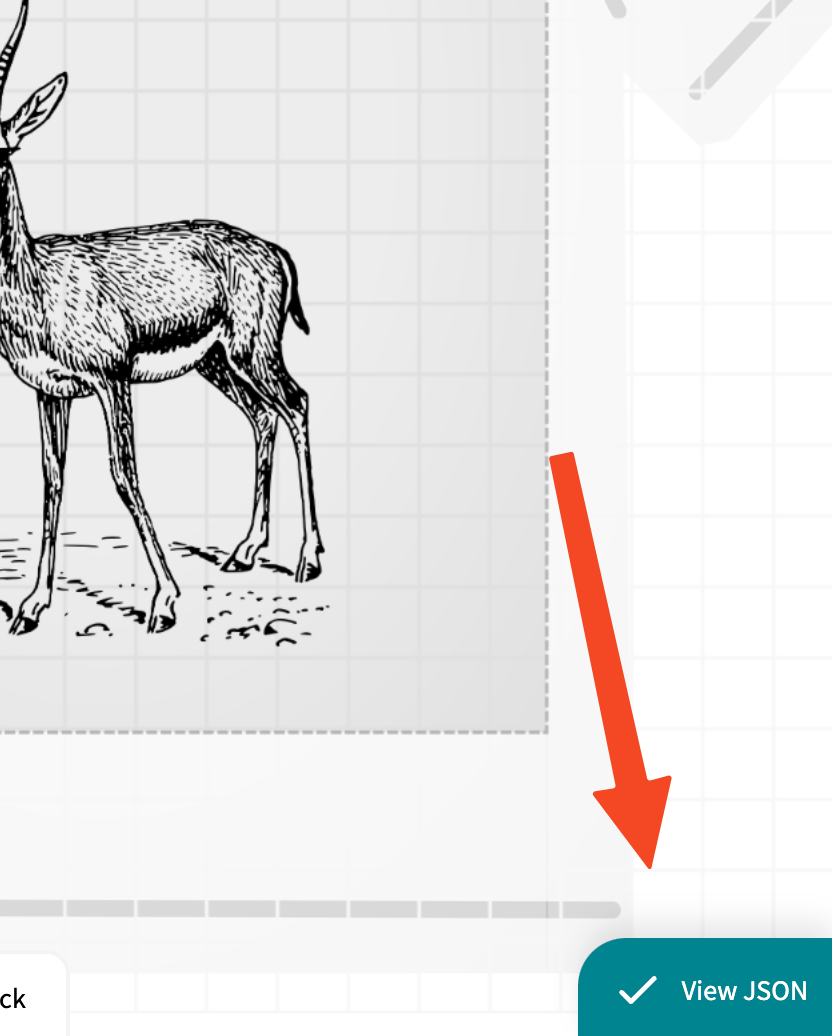
Now click on that button. A new modal will open that will show you the JSON code of your design. You will find a button to copy that JSON code to your clipboard. Now do so by clicking the button: 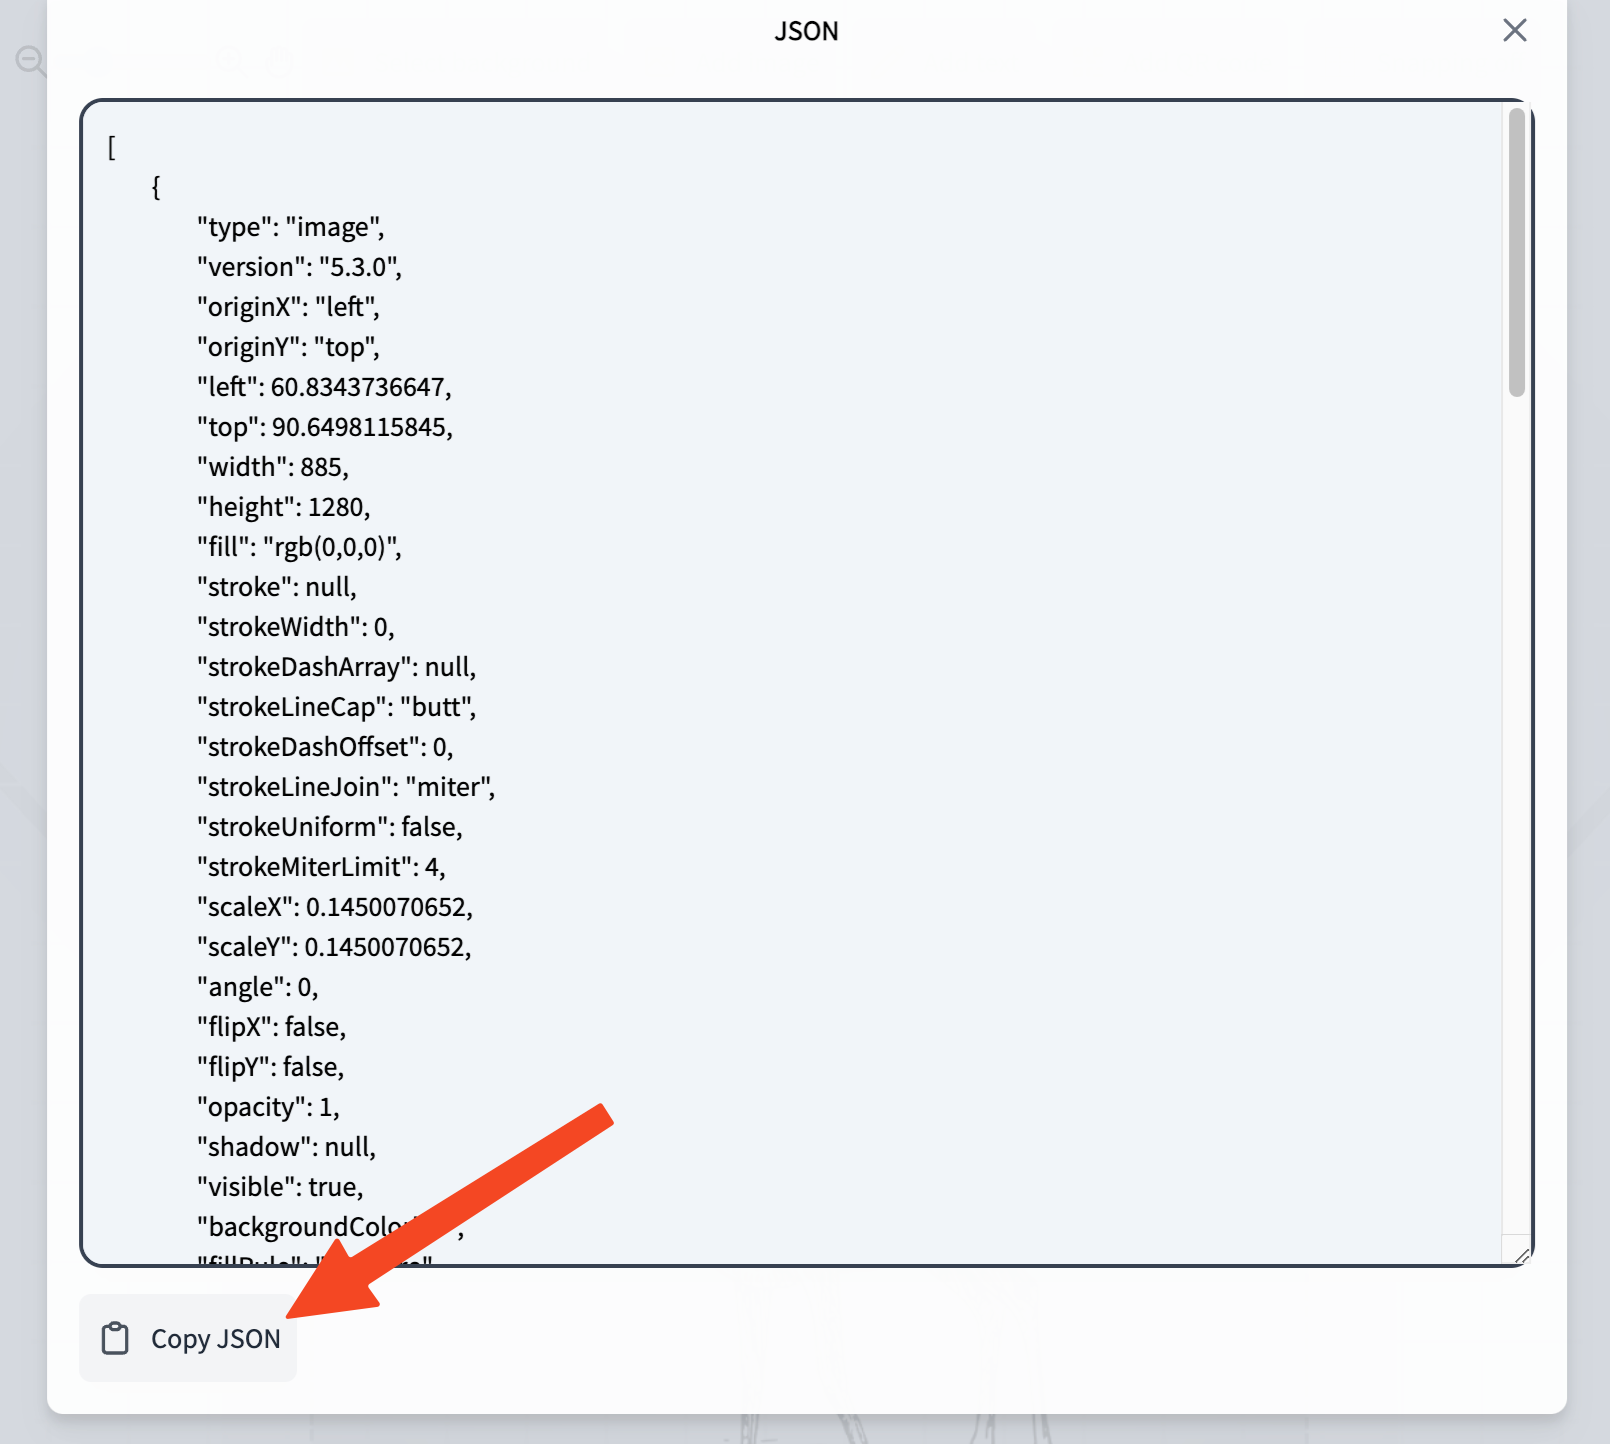
Add JSON code to your configuration
Now log in into your web shop’s backend, open the configuration you like to set an initial design for and click on the tab “Initial design” (or “Initiales Design” in German): 
In the tab you will find an input field. Now paste the JSON code you just copied from the designer into that field: 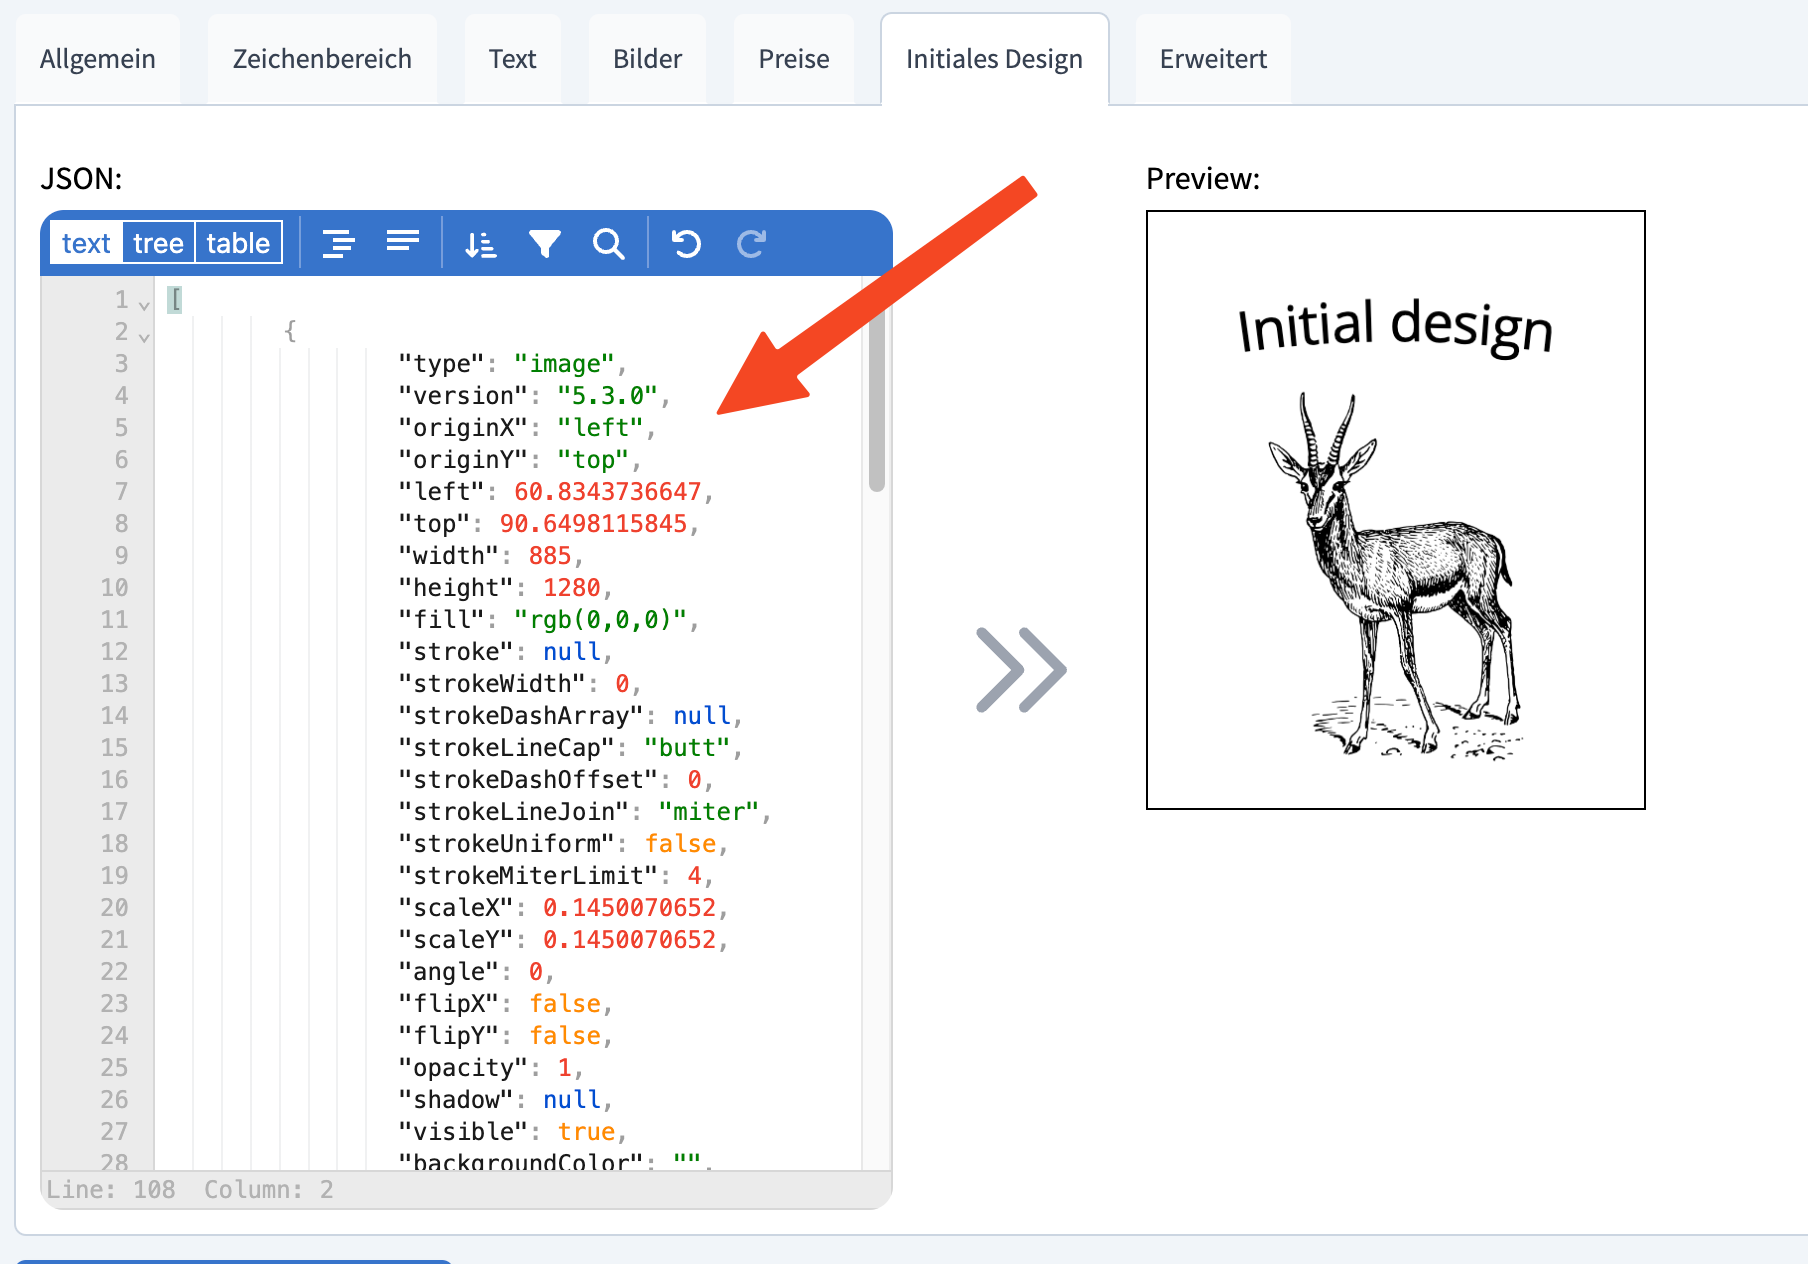
After you did so double-check your input by having a look at the preview on the right.
If everything looks good, don’t forget to save your configuration.
(Optional) Modify your initial design
After you have copy-pasted the JSON code into the input field you are able to modify the objects of your initial design. Please mind to be careful here. If you change the JSON code in an invalid way the initial design could completely break.
⚠️ Make sure you double-check each change you make using the preview functionality.
To help you to work with the JSON code you can change between three edit modes:
Text mode shows you the JSON as-is.
Tree mode will convert the JSON structure in a well-arranged tree.
Table mode will show you a table where each row is representing a single object.
In the end it doesn’t make a difference what edit mode you choose. Just use the one you can work best with.
Let’s assume you like to increase the text size a bit.
To do so, you have to find the fontSize property of the text object.
For demo purposes we use the table mode an increase the width of the input field by clicking on the arrow button: 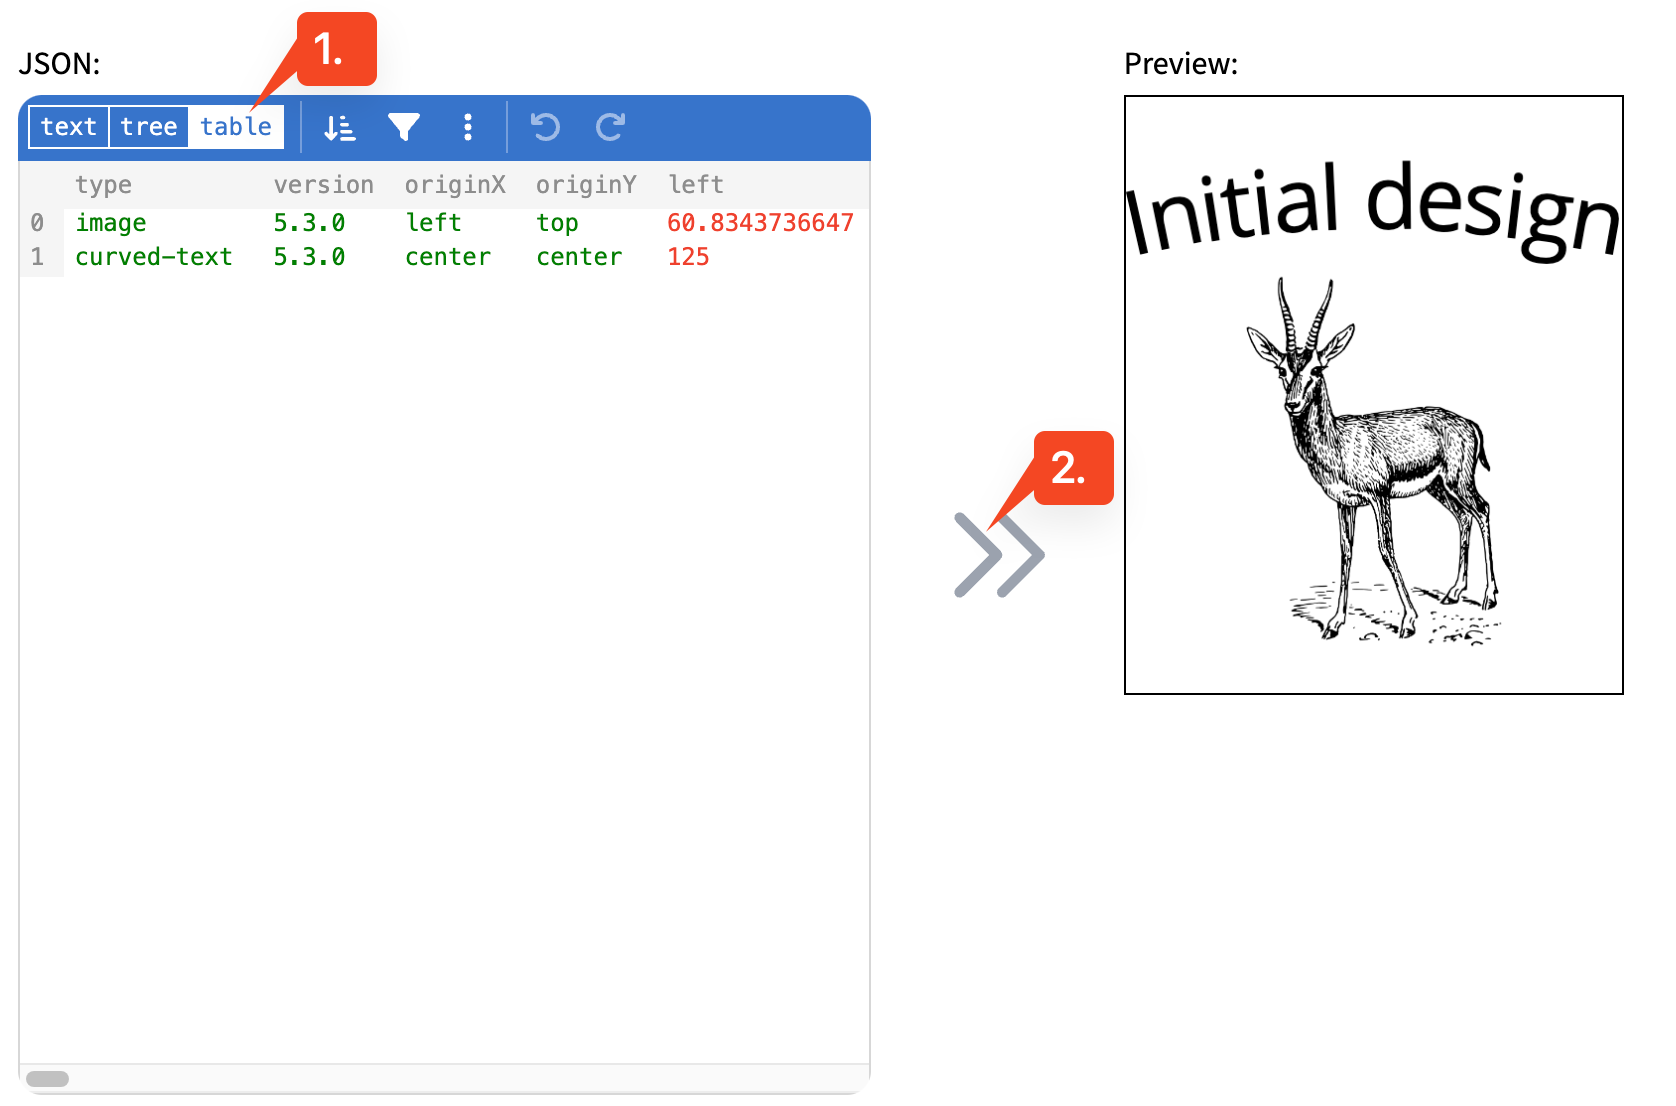
In the table, find the row representing the text object by checking the type column. No find the fontSize column, double-click on the value and modify it: 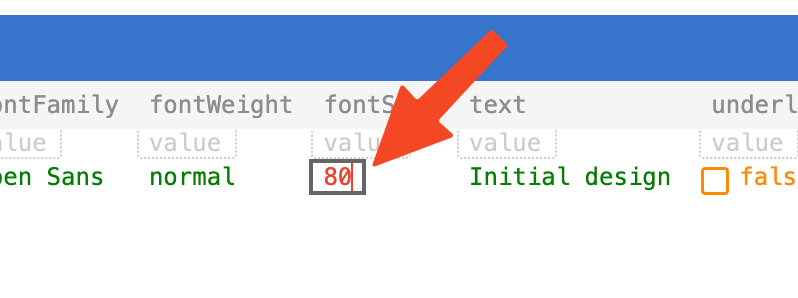
After you did so, click on the arrows again to have a look at the preview. 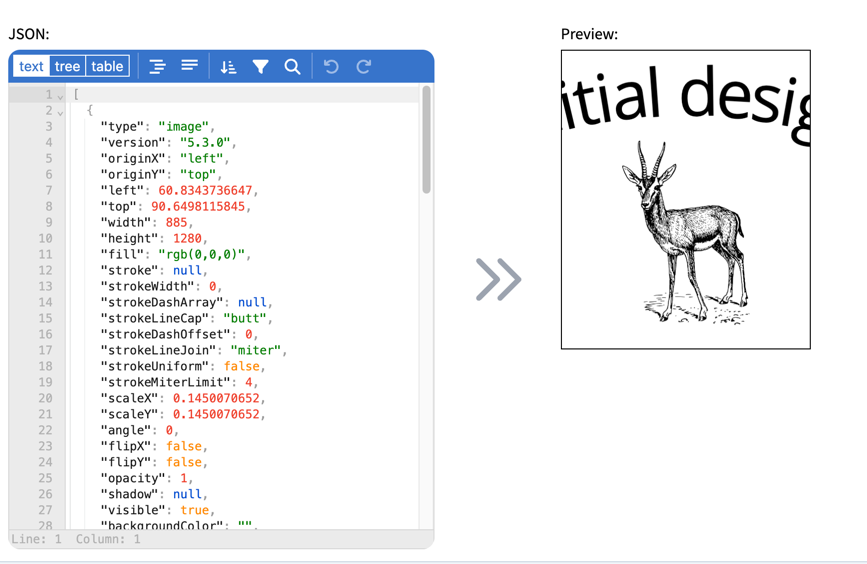
If you are happy with your changes, don’t forget to save your configuration.
⚠️ You can find a documentation of all the existing object properties here: http://fabricjs.com/docs/fabric.Object.html
⚠️ Please mind that not all properties are supported by the designer. So if you change the JSON code always make sure it’s working like expected.